Setting up your work.ink account to earn money from your content
Work.ink is a platform giving content creators the power to make money from their content - and even small content creators can make quite a nice pocket money. To use work.ink to its potential, a few steps are required when setting up your account.
Registering a work.ink account
Create a Work.ink account on the Registration Page. This is pretty straight forward. Just enter your details and register your account. Have a look into your mail inbox to verify your email and you're all set up to follow the next steps.
Setting up Work.ink Payments
To receive the money you make on work.ink, you'll need to add your payment details. You're prompted to do that after creating your account, as you can see on the screenshot below:
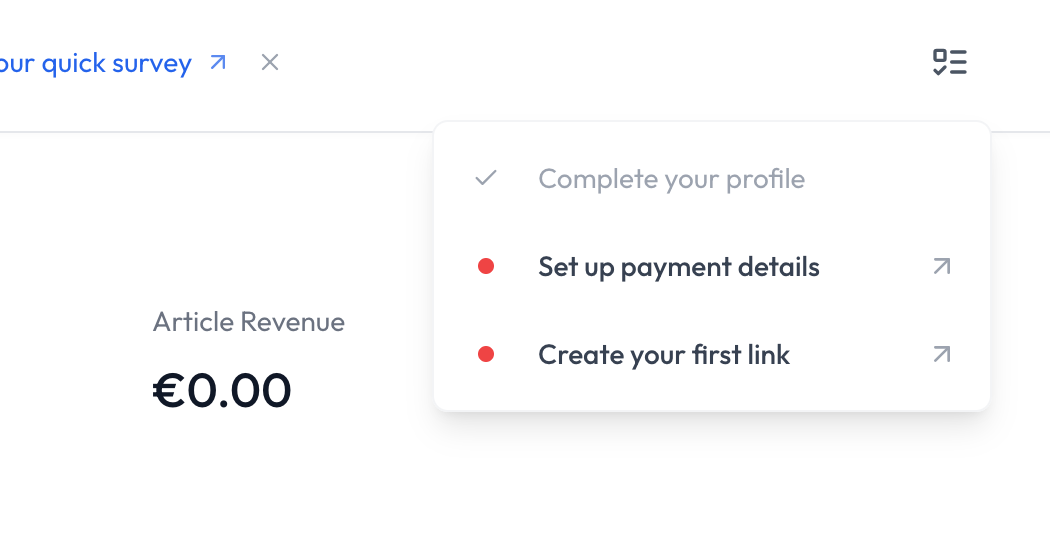
Click on "Set up your payment details". You will now see a page with a "Add Method" button in the top right corner. Click it and select your preferred payment method:
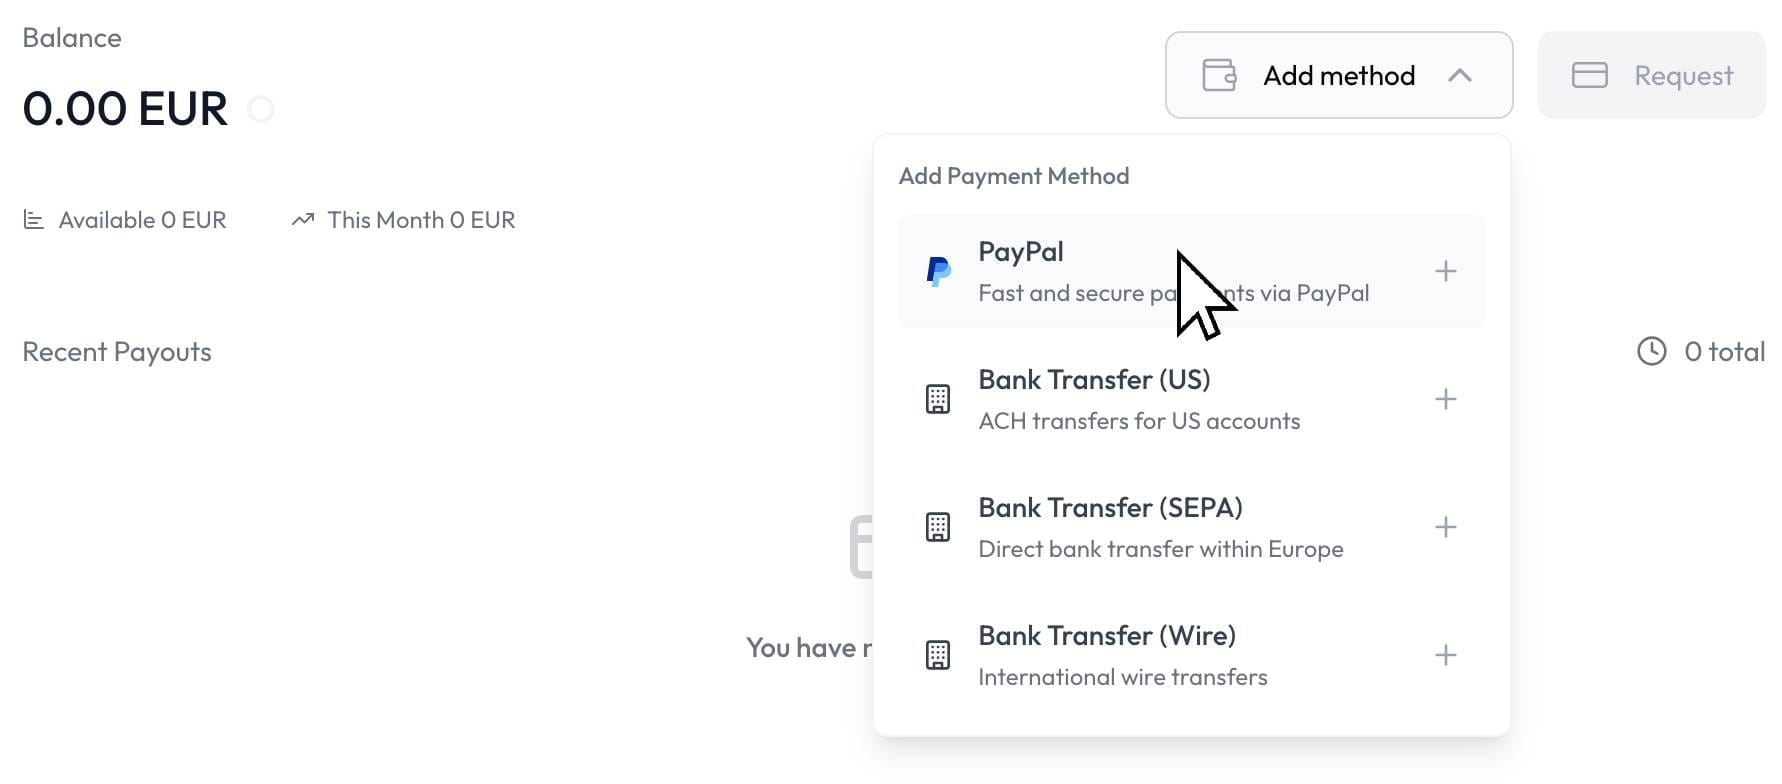
In this example we will be using PayPal for receiving payouts. Of course, you can use whatever method you want, the setup will be pretty much similar for any method. After you click on your preferred payout method, you will see a form, asking you for all payout-relevant information. Enter it and confirm.
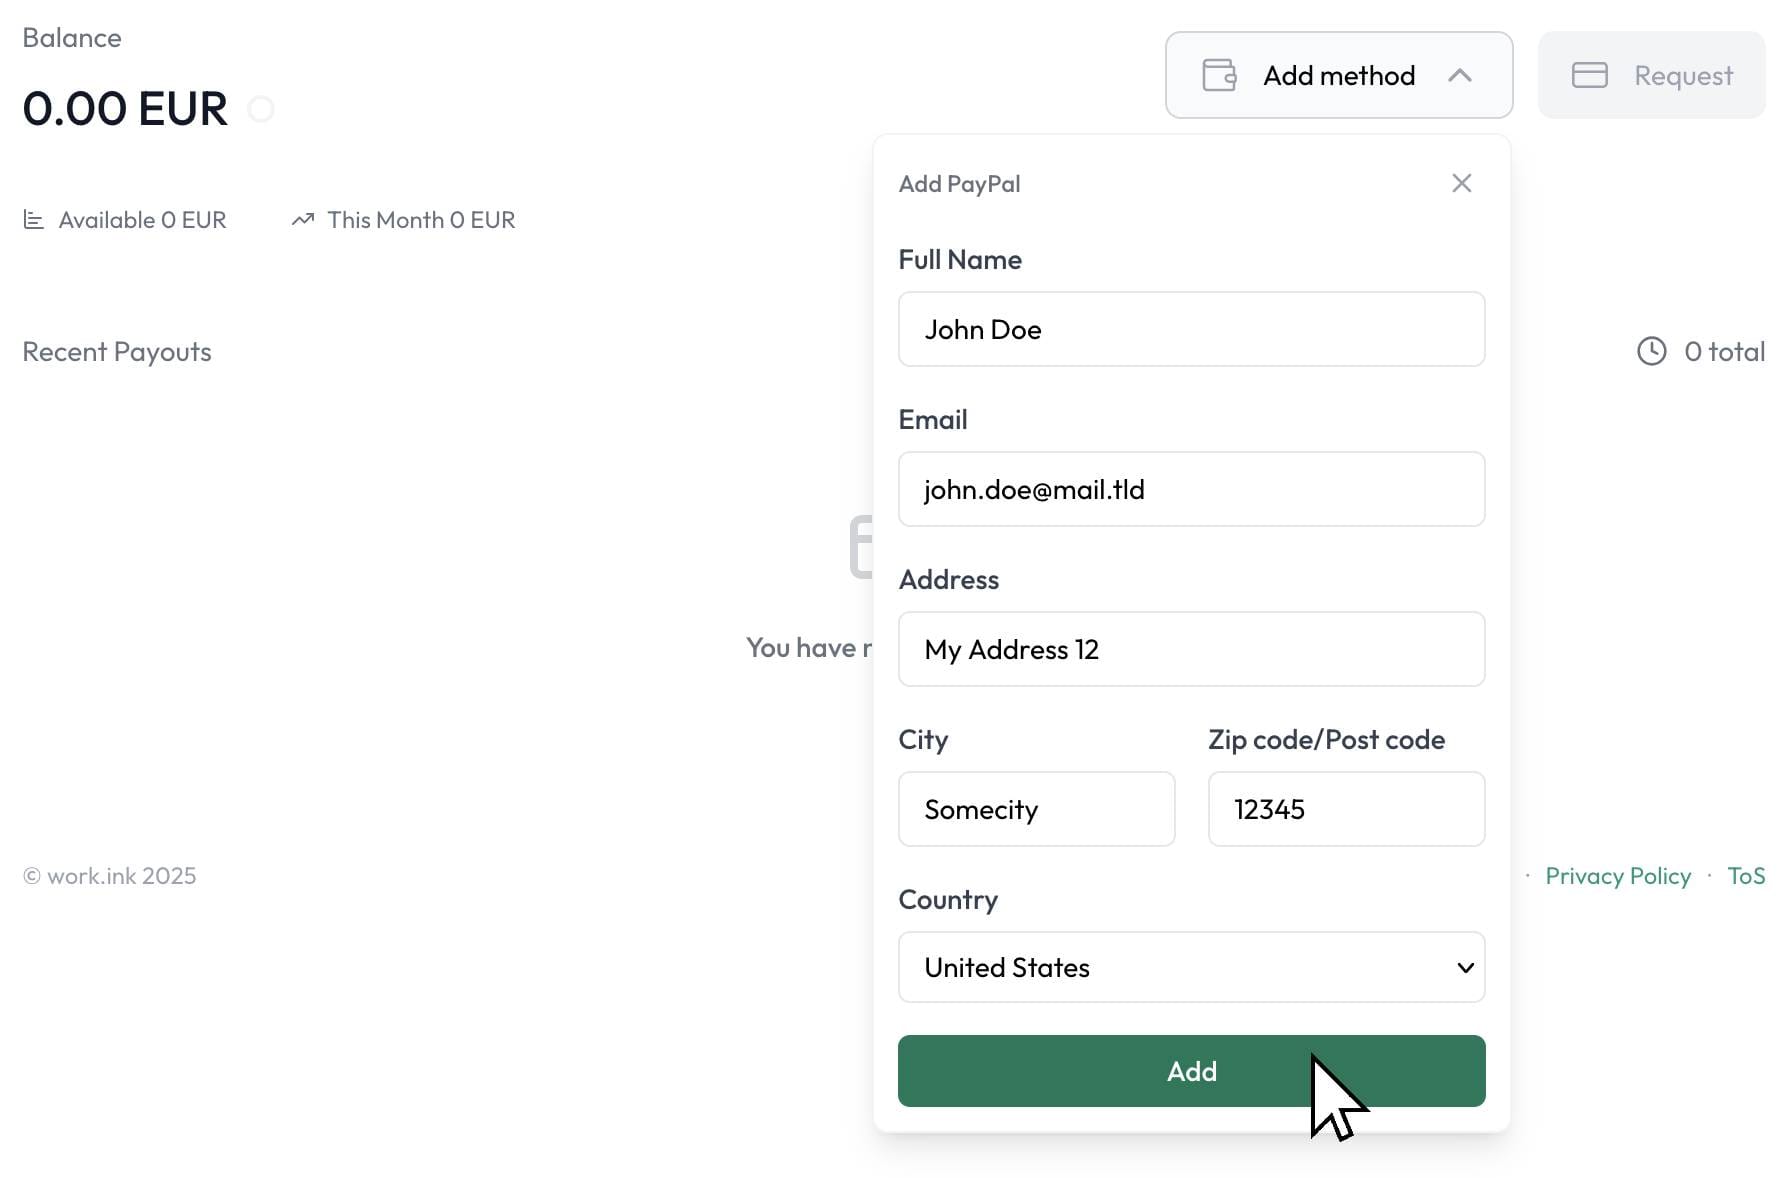
After pressing "Add", Work.ink Payments is all set up and you can proceed to creating your first link.
Creating your first link
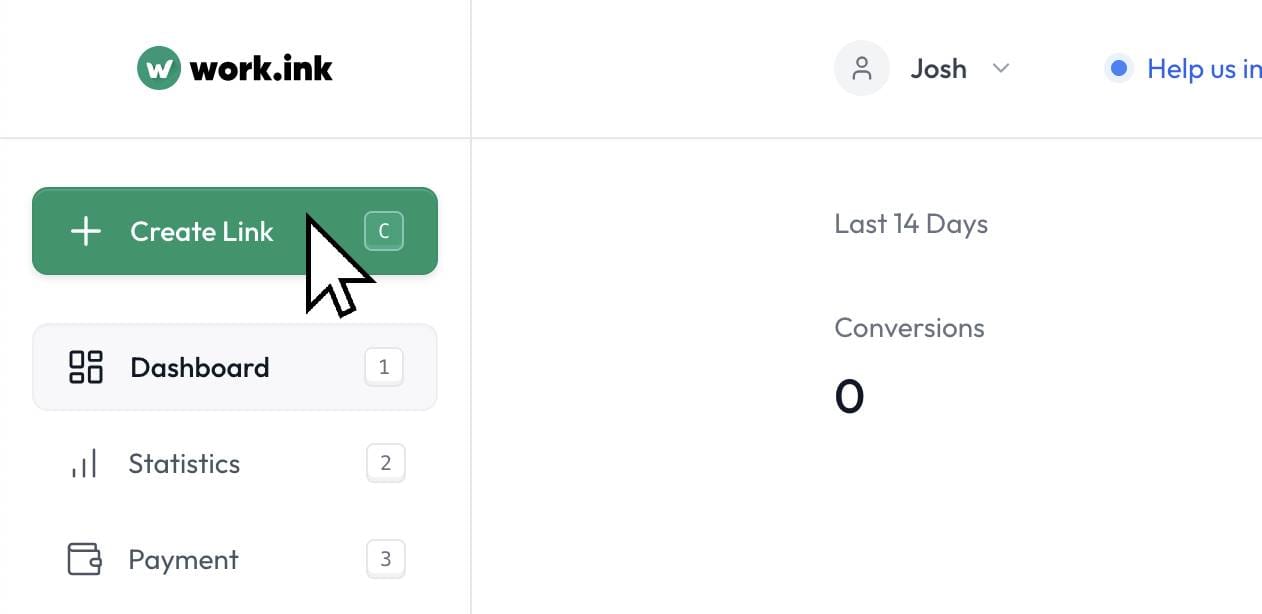
To make money from your content, you have to post it - what a surprise... To do this, click the "Create Link" button in the top left corner of the Dashboard.
Now, you will be prompted to enter a Title and a Destination. The Title is shown on the redirection page, while the Destination is the URL a user will be redirected to after completing all required steps on the redirection page.
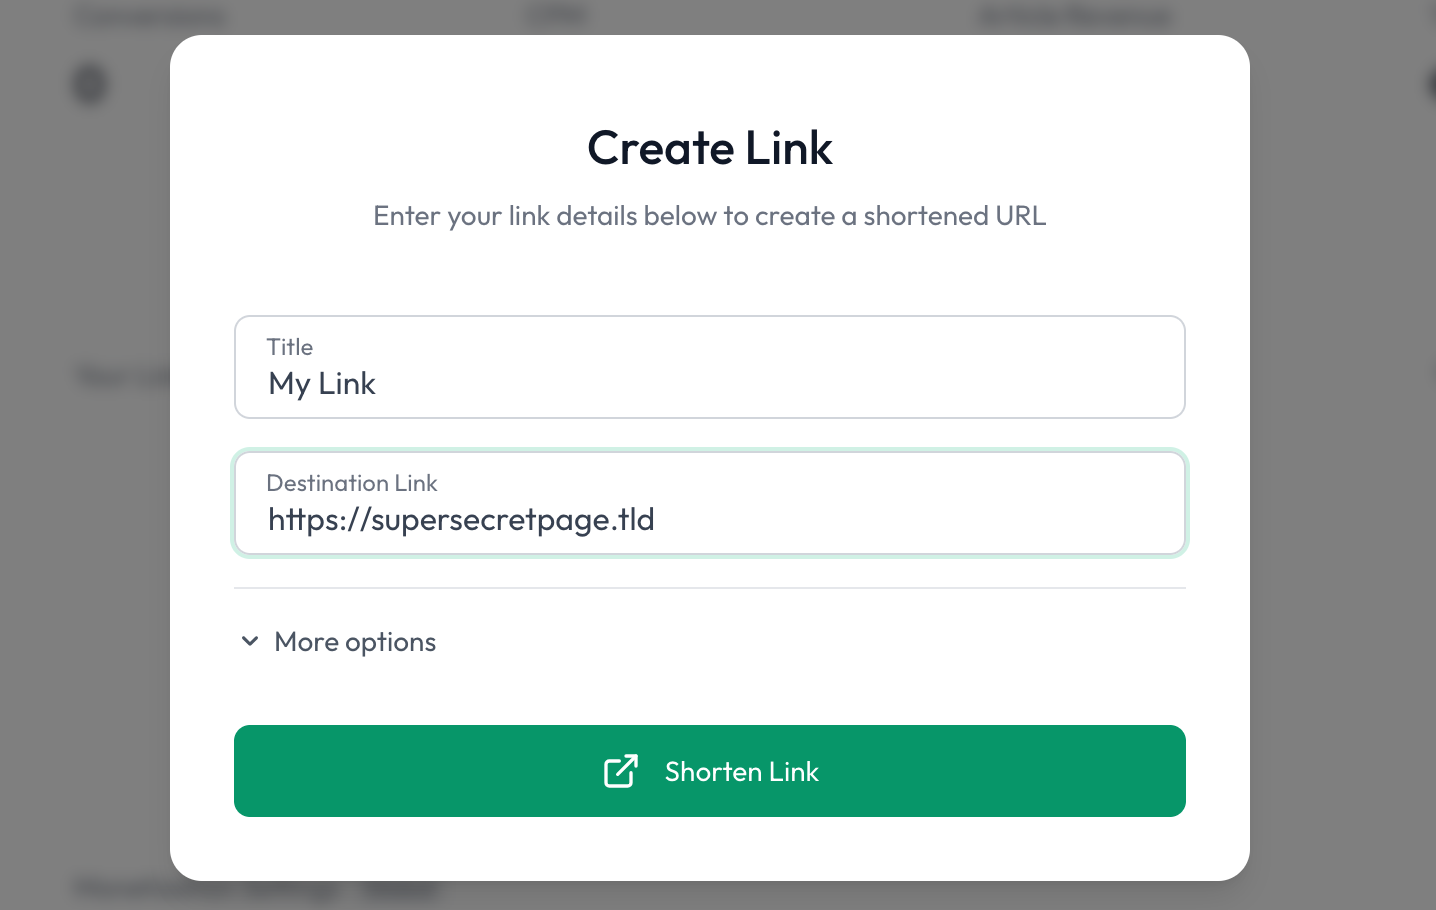
Press "Shorten Link" to create the new link. The Work.ink URL of the redirection page will be automatically copied to your clipboard. This is the URL, you share with your users.
As you can see, there are many more options under the "More Options" toggle, like setting a custom URL on work.ink, setting a description and setting a YouTube video to be shown on the links page. These options can be set to make your link more appealing to the user but are not required. Only a Title and Destination are required to create a link.
And that's basically it. You've successfully set up your payment information for payouts and created your first link to make money off. Now share this link with your community and every redirection will lead you closer to being rich and famous 😉